Design Schematic
Your Design
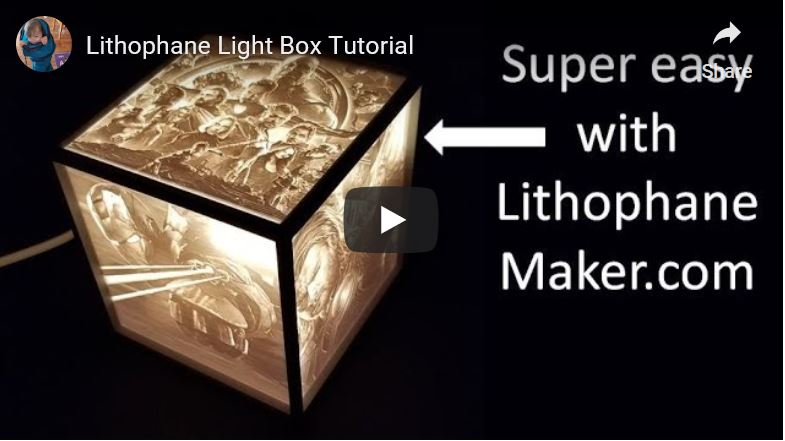
Lithophane Light Box Maker
Watch the video to learn how to design the lithophane light box. Change settings and see how it affects "Your Design" (shown to the right). This tool turns four photos into a lithophane light box stl.
Lithophane Settings
Upload top imageUpload front image
Upload left image
Upload right image
Lithophane Resolution (mm/pixel):
Depth (mm):
Width (mm):
Height (mm):
Max Thickness (mm):
Min Thickness (mm):
Picture Cropping
Top Picture
Top Picture X (0-1):Top Picture Y (0-1):
Front Picture
Front Picture X (0-1):Front Picture Y (0-1):
Right Picture
Right Picture X (0-1):Right Picture Y (0-1):
Left Picture
Left Picture X (0-1):Left Picture Y (0-1):
If you feel these tools add value, please consider becoming a patron. By becoming a patron, you will help pay for a faster server, and ensure that these tools continue to develop at a rapid pace. Patron's suggestions on how to improve the tools will also gain priority.
Become a Patron!No money to spare? Help for free by liking my designs on thingiverse.
Instructions
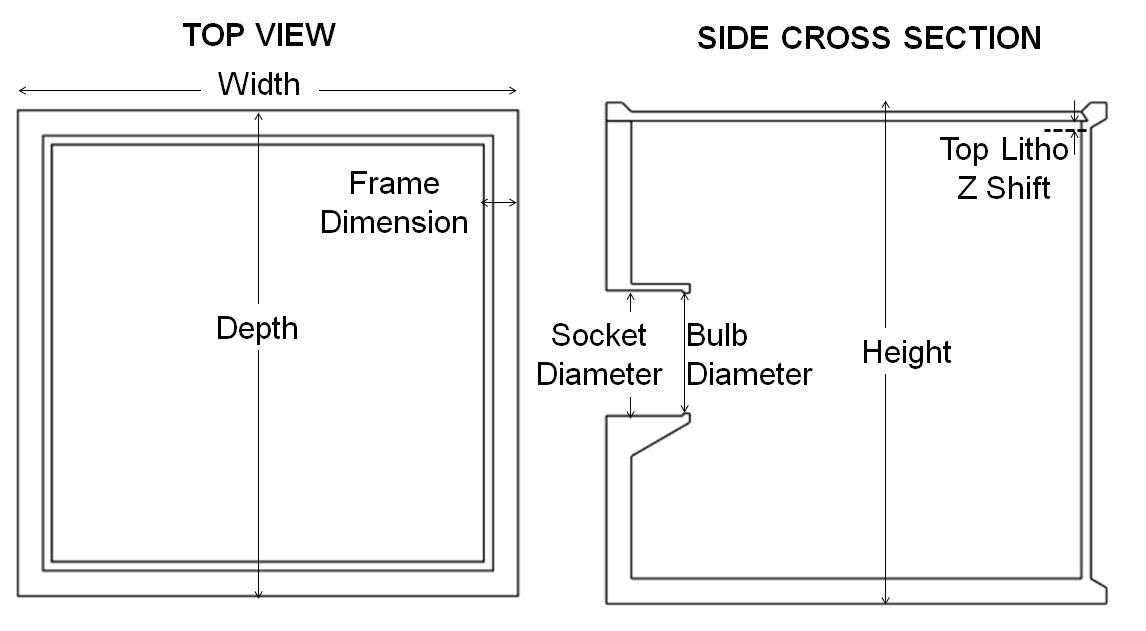
There are two main sections of this tool. The first section is on the upper half of the webpage (when viewed from a computer). This section deals with the physical dimensions of your lithophane light box and includes input parameters as well as a drawing under "Your Design".
The drawing's top view shows what the light box looks like from above. The side cross section shows a cutaway view of the lithophane light box if the light box were cut in half by a vertical plan that is at the center of the light box's width.
This section also lets you select the light box's outer dimensions that include depth (distance from the front to the back of the lithophane light box), width (side to side dimension when viewed from the front), height (the distance from the bottom to the top of the lithophane light box). The max thickness and min thickness control the thickness of the lithophane surface to affect its contract and brightness. The lithophane resolution specifies the distance between unique thickness points on your lithophane surfaces. Top lithophane Z shift can be used to move the top lithophane up and down to prevent that lithophane from poking through one of the side lithophanes. This could otherwise occur if your frame dimension is large, your minimum thickness is small, and/or your overhang angle is small. The frame dimension is the thickness of your box's base, back, and the distance from the front of your box to the back of the front lithophane (and affects the sides in an analogous way). The overhang angle defines the overhang angle between the lithophane and the frame. The light bulb diameter needs to be a diameter that keeps the bulb from coming out of your light box (not so small that the bulb won't fit, but not so large that the bulb can slide out). The socket outer diameter is the outer diameter of whatever light bulb socket you're using. I use the light bulb socket that can be found here. The light bulb socket needs to be able to slide into the section whose diameter is the set with this parameter. The light bulb length is the distance between the bulb's metal, threaded electrode and the tip of the bulb. The lithophane generator will elongate or contract the light socket tunnel so that the axial center of the bulb is exactly in the middle of the light box. In order for the bulb to fit, you need the light bulb length to be smaller than the depth minus two times the frame dimension.
The second section is where your crop your pictures, and it is on the lower half of the webpage. You must upload four pictures to use this tool. Because you have selected all of the light box's dimensions without being limited to the aspect ratio of your pictures, you will need to crop your images to the aspect ratio that is required. Change the values of the Front, Top, Left, and Right X or Y parameters to move the cropping rectangle to where you want it for each of your pictures. After you have completed this, you are ready to make your lithophane. Check out the 3D model in a 3D view, see if you like it, then slice it and 3D print!
I hope you enjoy this tool. If you have any questions or suggestions, please ask the Lithophane Maker User's group on Facebook, and if you don't get an answer there then email me at [email protected]. Enjoy!
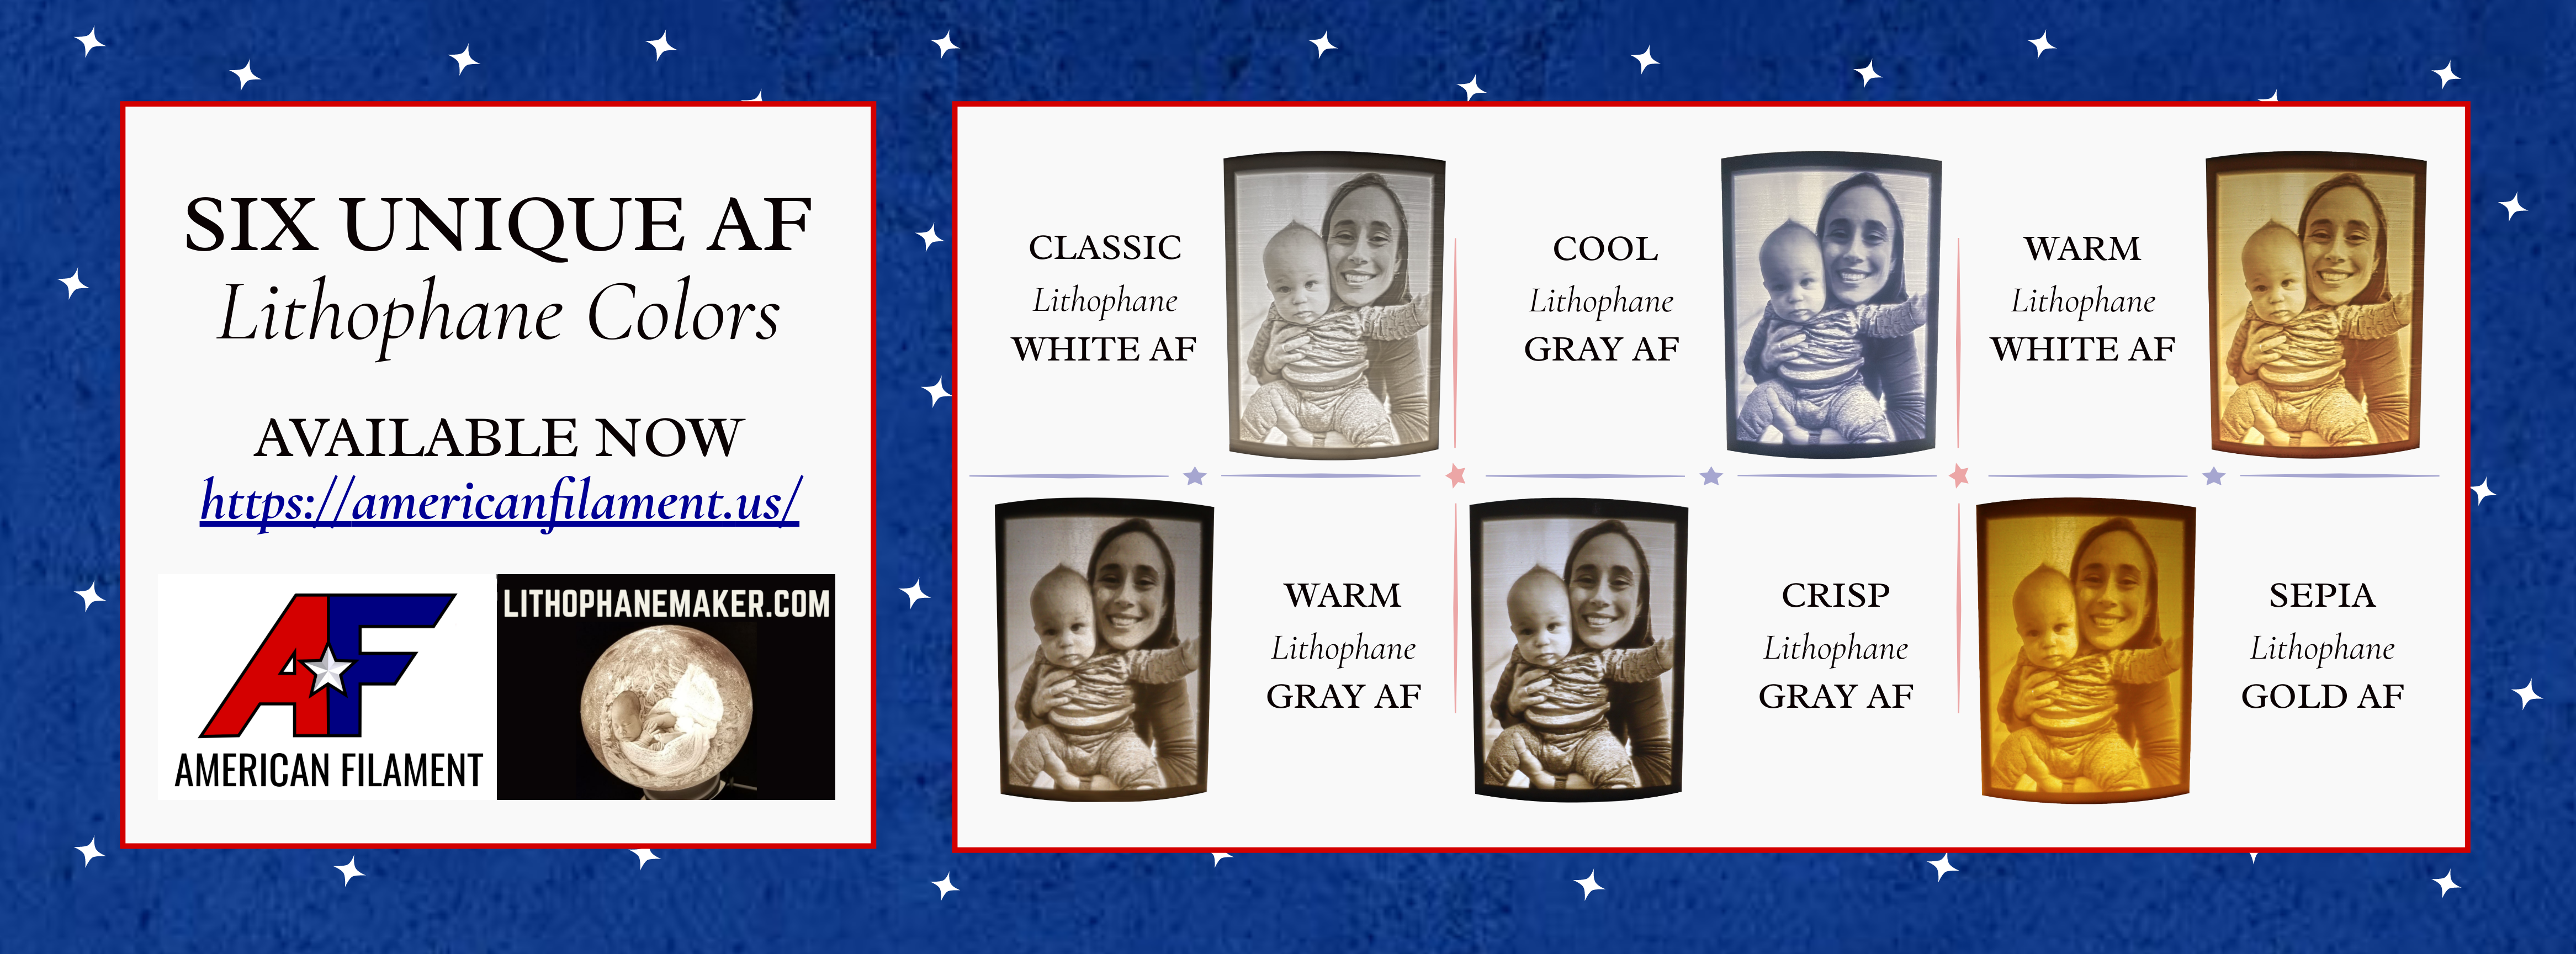
Get the best filament tailored to lithophanes!
Light bulbs
Your lithophane will be ready to download momentarily.
If you're running into trouble, join the Lithophane Maker User's group on Facebook to ask questions, or email me at [email protected].
Support this service by linking to LithophaneMaker.com when you share pictures and videos of your lithophanes. Most makers find this site through referrals from lithophane makers like you!
You can also support the service by liking and following the videos, pages, and designs on YouTube, Thingiverse, social media! This will raise LithophaneMaker.com's visibility so that other makers can find the tools as well.
YouTube (like the videos and subscribe): YouTube
Thingiverse (follow and like the designs): Thingiverse
Facebook (like the page): Facebook
Twitter (follow me): Twitter
Instagram (follow me): Instagram